How To
How To Create A Google Classroom

- February 4, 2021
- Updated: July 2, 2025 at 4:14 AM

Google Classroom has saved millions of curriculums from imploding in 2020. Whether you’re a teacher or a student, you’ve undoubtedly heard of the excellent benefits the app offers. It helps you stay in touch with your students in real-time while making it easy to create and distribute assignments. It’s also an excellent platform through which you can give marks and feedback to the student. The app is free and safe to download on iPhone, Android, and Windows.
Create a Google classroom in 5 easy steps
Step 1: Prepare your classroom
What is teaching other than creating order from chaos, right? Before you jump in and create your classroom, you should plan how you want to manage each one by dividing your students into the groups you wish to cluster together.
You’ll need their email addresses for easy setup. Alternatively, you can send out a classroom code later. Your students will need it to enter their group and access all assignments, group meetings, and feedback.

Step 2: Download the app
You’ll need a Gmail account or the G Suite login information typically provided by your school’s IT department. You can also do it in your private capacity using your Google Account information. It’s as easy as downloading the free version from a trusted provider and installing it onto your PC or laptop.

Step 3: Sign in to Classroom
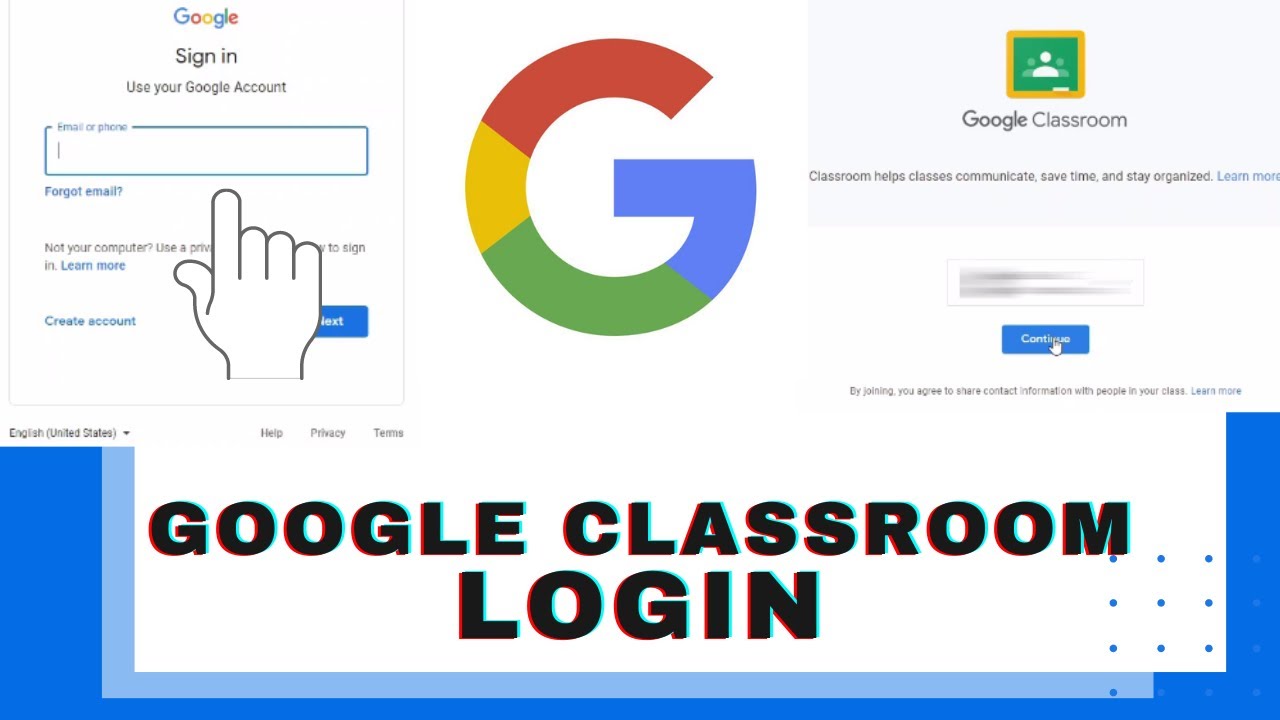
Now that you’ve got the app on your device, you can sign in at classroom.google.com. It’s best to create your classrooms on your primary device first until the setup is complete. To access it from your mobile app once the preliminary structure is complete is quick and easy.
Step 4: Pick your role
You’ll see two options on your screen. Your students will click the one when they want to join your class, but for now, you click on the picture that reads ‘I’m a teacher.’ You’re almost home free, just a few more clicks.

Step 5: Name your classroom
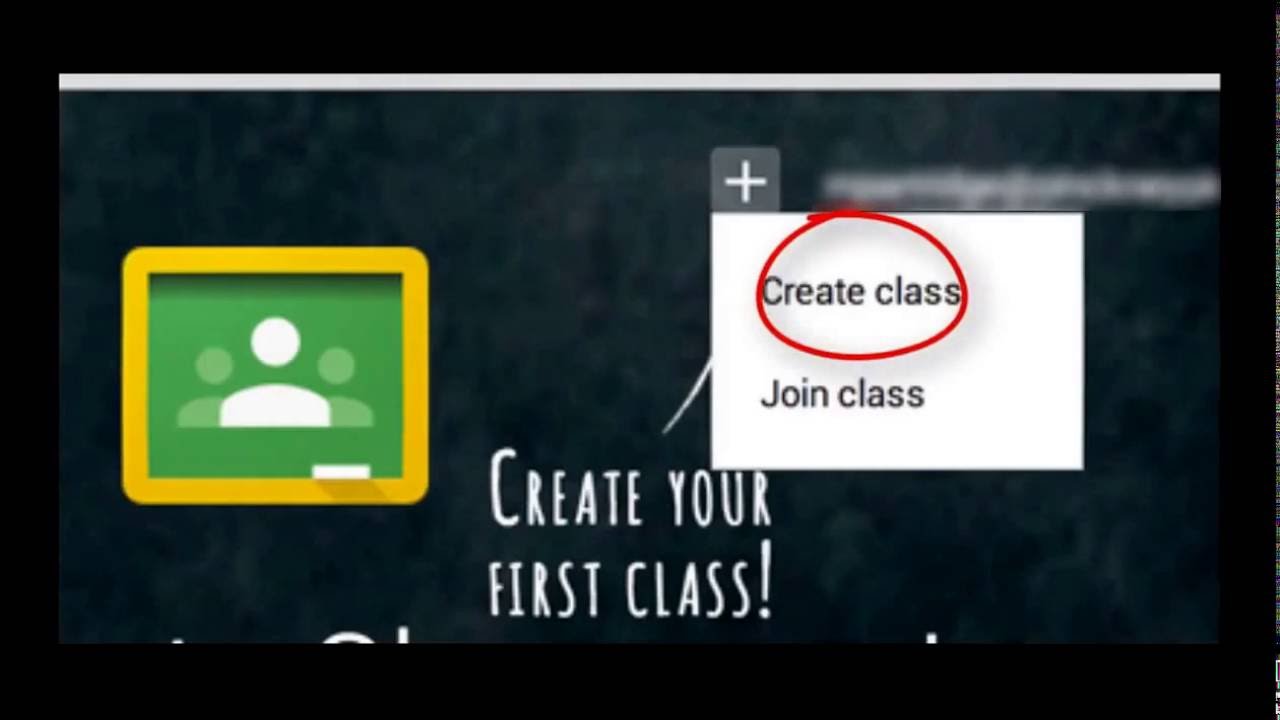
The next step is to create or join a classroom. It’ll redirect you to the Classroom Home Page, where you can click on the ‘+’ icon and then select the option to ‘Create Class.’ In the next tab, you can create a name that your students, and yourself, can identify with. Keep in mind that you can have numerous classrooms, so naming each one uniquely streamlines future searches. You can also add more information in this section to further simplify the categorization, such as:
- You can enter ‘Section’ details to describe the class.
- You can add the ‘Subject.’
- You can indicate the ‘Room’ location for the class.
Finally: Create your classroom
If you’re happy with the classroom content, all that’s left to do is to click on ‘Create.’ Congratulations! Your first virtual classroom is all set up and ready for you to start inviting your eager learners to join.
You may also like
 News
NewsColin Farrell made Tom Cruise repeat a scene from Minority Report… up to 42 times!
Read more
 News
NewsThe creator of GTA 6 is very clear that AI will not be able to compete against them
Read more
 News
NewsThat time James Cameron met his idol… and he insisted on analyzing 'True Lies'
Read more
 News
NewsColin Farrell showed up drunk to the filming of 'Minority Report'. Tom Cruise didn't find it funny at all
Read more
 News
NewsSharon Stone defends Sydney Sweeney from all the criticism over the famous jeans ad
Read more
 News
NewsHello Kitty is coming to the movies, and we already know when!
Read more