While Google Classroom has tons of features to make teaching easier, you’ll eventually need to learn how to create assignments. They are fundamental to your students passing your classes, as you’ll be grading them based on the results. It’s your responsibility to ensure that they’re developed and uploaded in time so that they don’t fail.
How to Create an Assignment in Google Classroom
If you’re new to Google Classroom, we know the experience can be daunting. We’ve seen many online teachers getting confused with some of the settings, which is why we issue so many guides for this app. In today’s lesson, we’ll guide you on creating assignments for your courses.
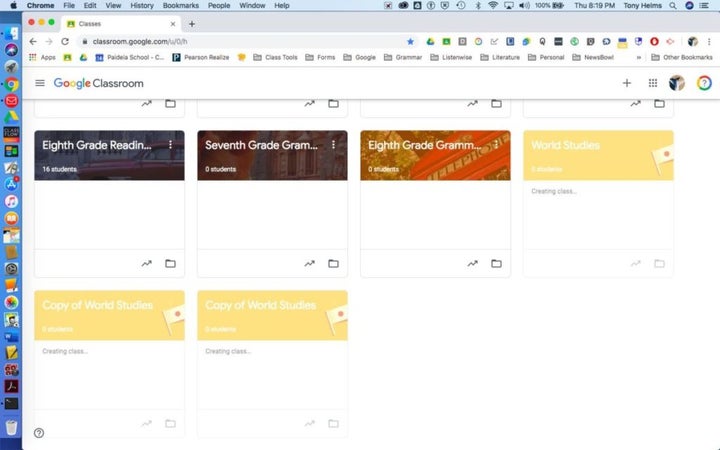
Step 1: Open your class
Before you can assign anything, you’ll need to open the relevant course. Sign into your account and find the class where you need to craft some new assignments. Ensure that you select the right one so that you don’t confuse your students.
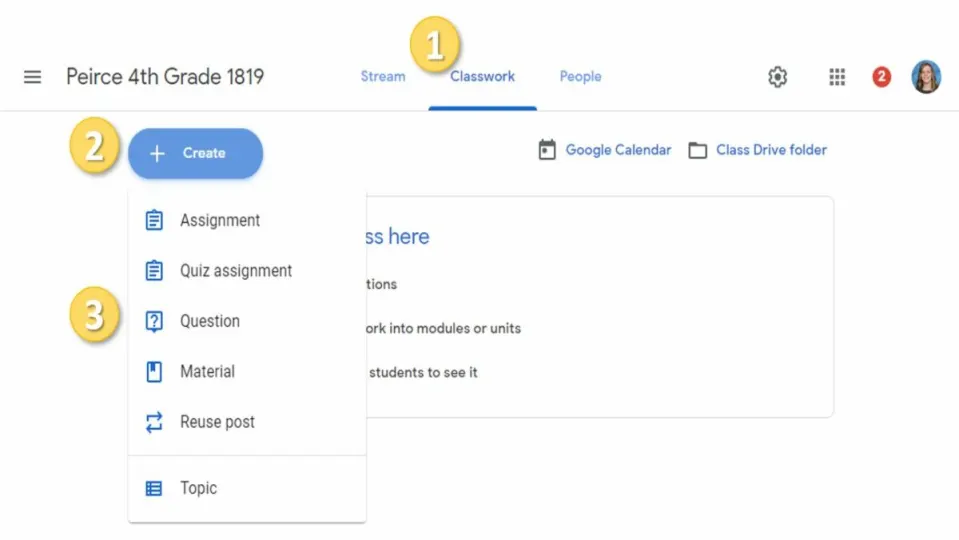
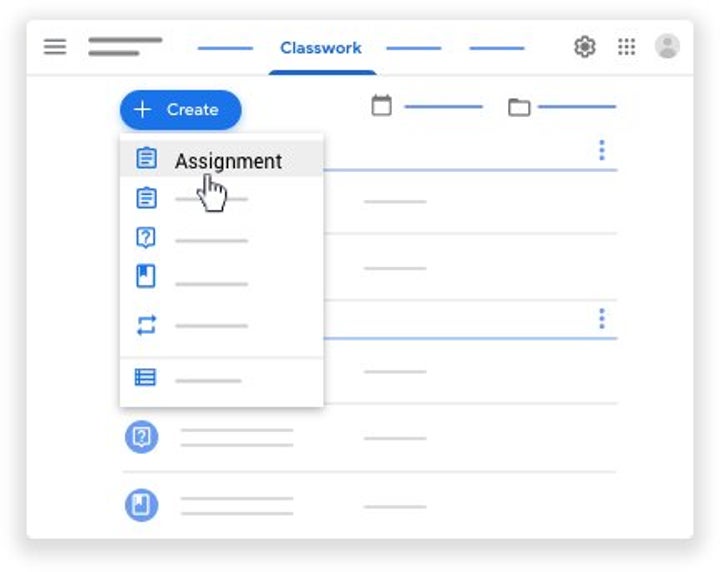
Step 2: Create the assignment
Open the Classwork tab. You’ll see a button that says ‘Create.’ When you click on it, a list of options will appear. You’ll want to select the one that states ‘Assignment,’ obviously.
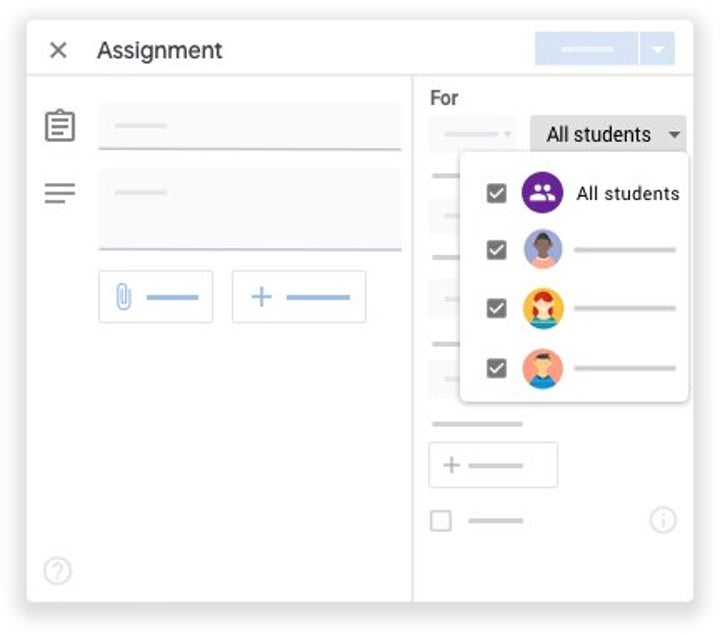
Step 3: Enter the details
With the new assignment window open, you’ll need to insert the title and all the relevant instructions. Ensure that everything is clear before you save it and post it to your students. It should also indicate the due date.
Class is in session!
With your Google Classroom assignments in place, the rest of the work is up to your students. You’ll watch as the projects steam in while keeping a close eye on late submissions. You should also check regularly if anyone has questions, as it could delay them in completing the work.